
Equipment
- Mount: SkyWatcher EQM-35 Pro
- Telescope: William Optics SpaceCat51
- (Accessories: WO Cat Series Saddle Handlebar for Guide Scope)
- Focuser: DeepSkyDad AF3
- Imaging Camera: Altair Astro Hypercam 183C
- Guide Camera + Scope: ZWO ASI120MC-S + ZWO MiniScope
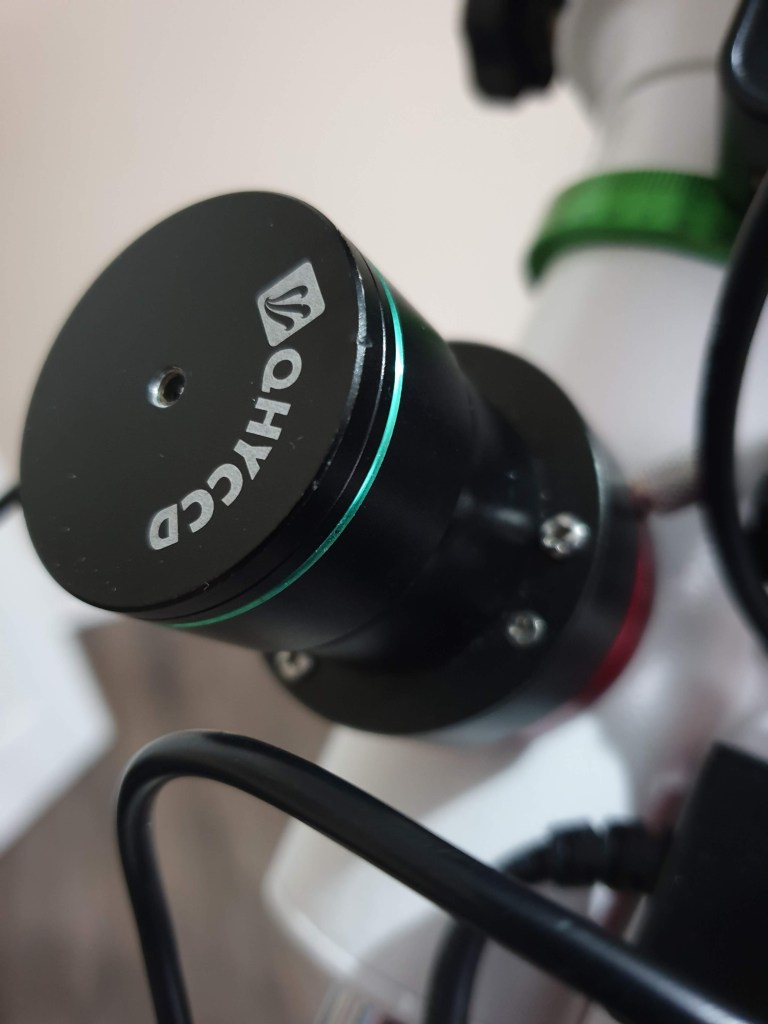
- Polar Alignment: QHY CCD Polemaster
- Imaging Computer: Raspberry Pi 4, 4Gb Ram, 64Gb Sandisk Extreme running Stellarmate 1.4.6 (Beta for rPi4)
- Mount Control: Lynx Astro FTDIR EQDIR USB cable
- Power: rPi – Celestron LiFePO4 with 12v to 5v 3A Buck
- Mount + Accessories: Bresser 100W Portable Power Supply (Li-Ion)
Raspberry Pi4 + Stellarmate OS
The Raspberry Pi and Stellarmate OS make a great and powerful, but very lightweight solution for controlling your telescope remotely. And by remotely, I mean by WiFi. Why go WiFi? It frees up more cables from your imaging rig, which along with clouds, cables sometimes seem to get in the way of a good imaging session – so this can only be a good thing.
WiFi also allows you to leave your equipment out in the cold whilst you’re indoors in the warmth. For people who prefer LAN over WiFi – most advantages apply here too, with some additional benefits such as speed and stability, but an untethered setup really does help increase the enjoyment of this hobby.
My main imaging rig is set up with a PrimaLuce Eagle3, and is the Ferrari of the home remote imaging world – but for my more portable rig, I preferred a lighter setup, with far less power requirements. The Stellarmate + Raspberry Pi combination is also 1/10th of the cost of the PrimaLuce Eagle3 yet able to perform all the functions I require of my portable setup.
You can purchase a complete Stellarmate Gadget – which consists of an already installed Stellarmate OS (Ubuntu Linux Mate OS + Pre-Configured Kstars/Ekos/Indi software) or a cheaper alternative is to buy the components separately and transfer the Stellarmate OS to a MicroSD:
- Raspberry Pi4 (4Gb version, can be run on the 1Gb version) + Case from PiHut: £61.99 delivered
- 64Gb Sandisk Extreme Micro SD Card: £14 delivered
- Stellarmate OS: $49 (£39 at time of purchase)
Total: Approx £115. For a lower spec Stellarmate Gadget (preinstalled device) costs around £150.
(Note that for people familiar with rPi and Linux, you can replicate everything in this setup with further cost savings. Linux is free. Kstars is free. What Stellarmate does is provide you support and more testing of configurations, and the convenience of “it just works”. If you want to save further money but invest a little more time in your setup, remove the cost of Stellarmate OS and set up the software yourself).
It is very simple to get your Raspberry Pi4 running Stellarmate:
- You download the Stellarmate OS image
- Burn (copy/write) the downloaded image to MicroSD using something like Etcher (Runs on MacOS, Linux and Windows)
- Then pop the MicroSD card into the Raspberry Pi4 and power it on
Once it has booted, it creates a WiFi hotspot called ‘stellarmate’ which you would then use Android of iOS software from Stellarmate to connect and control your device. I prefer to run from PC, so I followed the instructions to make this as part of my home network (known as “Infrastructure” WiFi configuration) – then from here I utilise VNC to have a remote desktop of my Stellarmate device – see below

Kstars + Ekos
At the heart of Stellarmate OS is basically Linux. But that shouldn’t deter you thinking you’ll be needing to dive into the powerful command line. This is a consumer device designed to be operated using the GUI or app on your tablet or phone. The main piece of software you’ll be using will be Kstars and Ekos. This free software (available for Windows too) that runs on Linux that gives you a complete astronomy/astrophotography experience. Kstars is your planetarium software, allowing you to pick and choose your targets and control your mount, and Ekos is for astrophotography. The Ekos interface will feel very familiar to people who have used SGP. I’m going to assume that SGP is a commercial clone of Ekos. Under Ekos you can define a “Profile”. A Profile defines your hardware: Mount, Cameras, Focusers, Filterwheels, etc. You start a profile and it connects the various devices. The various device hardware drivers are courtesy of Indilib. Indilib is the Open Source equivalent of ASCOM.
Through Ekos you can set your imaging schedule. You will not be disappointed by the rich features of Ekos where it allows you to control a number of fine grain details you might wrongly assume is only available in more expensive, commercial software – such as autofocus, autoguiding, dome control, park/unpark routines, etc.
Power
Power in the field is important. I wanted to make sure I didn’t depend on too many heavy pieces, or power hungry pieces of equipment – but powering them is unavoidable.
First is the Raspberry Pi4. The Pi4 is powered through the USB-C connection, and given it’s a little more thirsty than the Pi3+, it requires a stable 5V 3A connection at all times. I tried to use an Anker Powerbank – rated for up to 4.5A, yet I had a number of WiFi stability issues. In the end, I decided to utilise the 12v output from my Celestron LiFePO4 powertank, stepping down using a £4 12v-5V buck that gave a 5V 3A USB output. I quickly made a cable and it has been stable ever since.


For the mount, this power is yet to be delivered – but will be in the form of a Bresser 100W Power Supply. This will also power the DeepSkyDad AF3 autofocuser. The Bresser 100W Power Supply is a Lithium Ion battery with suitable outputs. I’ll update this article on its effectiveness.
Putting it all together
To complete the setup, I use a William Optics SpaceCat51 scope. This is a gorgeous 51mm F/4.9 APO that I utilise with both an Altair Hypercam 183C and my Nikon D750.
Whilst not mentioned here, the Nikon D750 can also be controlled by Ekos. I have full USB control of my shutter on the Nikon utilising Ekos. The Nikon is a full-frame sensor DSLR giving a great pairing with the SpaceCat51 (despite being very undersampled if you do the maths!). The Nikon screws onto the back of the SpaceCat51 using a suitable T-Ring adapter.
It’s also worth mentioning that the SpaceCat51 has a fitting for a 2in filter. An Optolong L-Pro usually accommodates this slots on most nights!
All the rig is controlled by USB. I use an Inateck (unpowered) USB3 adapter to help put the following devices onto the Raspberry Pi4 Stellarmate unit:
- Altair Hypercam 183C (USB3)
- ZWO ASI120MC-S (USB3)
- Inateck USB Hub
- QHY CCD Polemaster (USB2)
- Lynx Astro FTDI EQDIR USB cable (USB2)
- DeepSkyDad AF3 Autofocuser for SpaceCat/RedCat/WhiteCat51 (USB2)
All components are recognised by Ekos/Indilib, with the exception of the Polemaster as it plays no part in the operations of Ekos. This runs as the expected Standalone app you’re probably already familiar with.
The WO SpaceCat51 doesn’t come with an ability to add a guide scope out of the box, so an additional piece of equipment is needed – the Cat Saddle Handlebar. A standard vixen mount exists allowing you to add an appropriate, small guide scope. I opted for the ZWO MiniScope.


Autofocusing is courtesy of the excellent DeepSkyDad AF3 autofocuser kit. The SpaceCat51 has a helical focuser, so standard autofocusers that adjust the coarse knob of your focuser won’t work on these scopes. Fitting was very easy and this is a highly recommended addition to your SpaceCat/RedCat51 setup.
Results
I had my first outing with (nearly) all of the kit above recently – and it was easy to use. Whilst I’m yet to utilise some more “advanced” features, such as autofocusing, and guiding, the results were that I could easily recommend this set up for in-the-field astrophotography


Very well documented, I have a rpi4 with 4GB and will be running a similar setup to you (stellarmate), I have tried a set up already but it went completely wrong, guess I’ll have to persevere, can you tell me how you control the mount please.
Lovely Article.
Regards
Neil
LikeLike