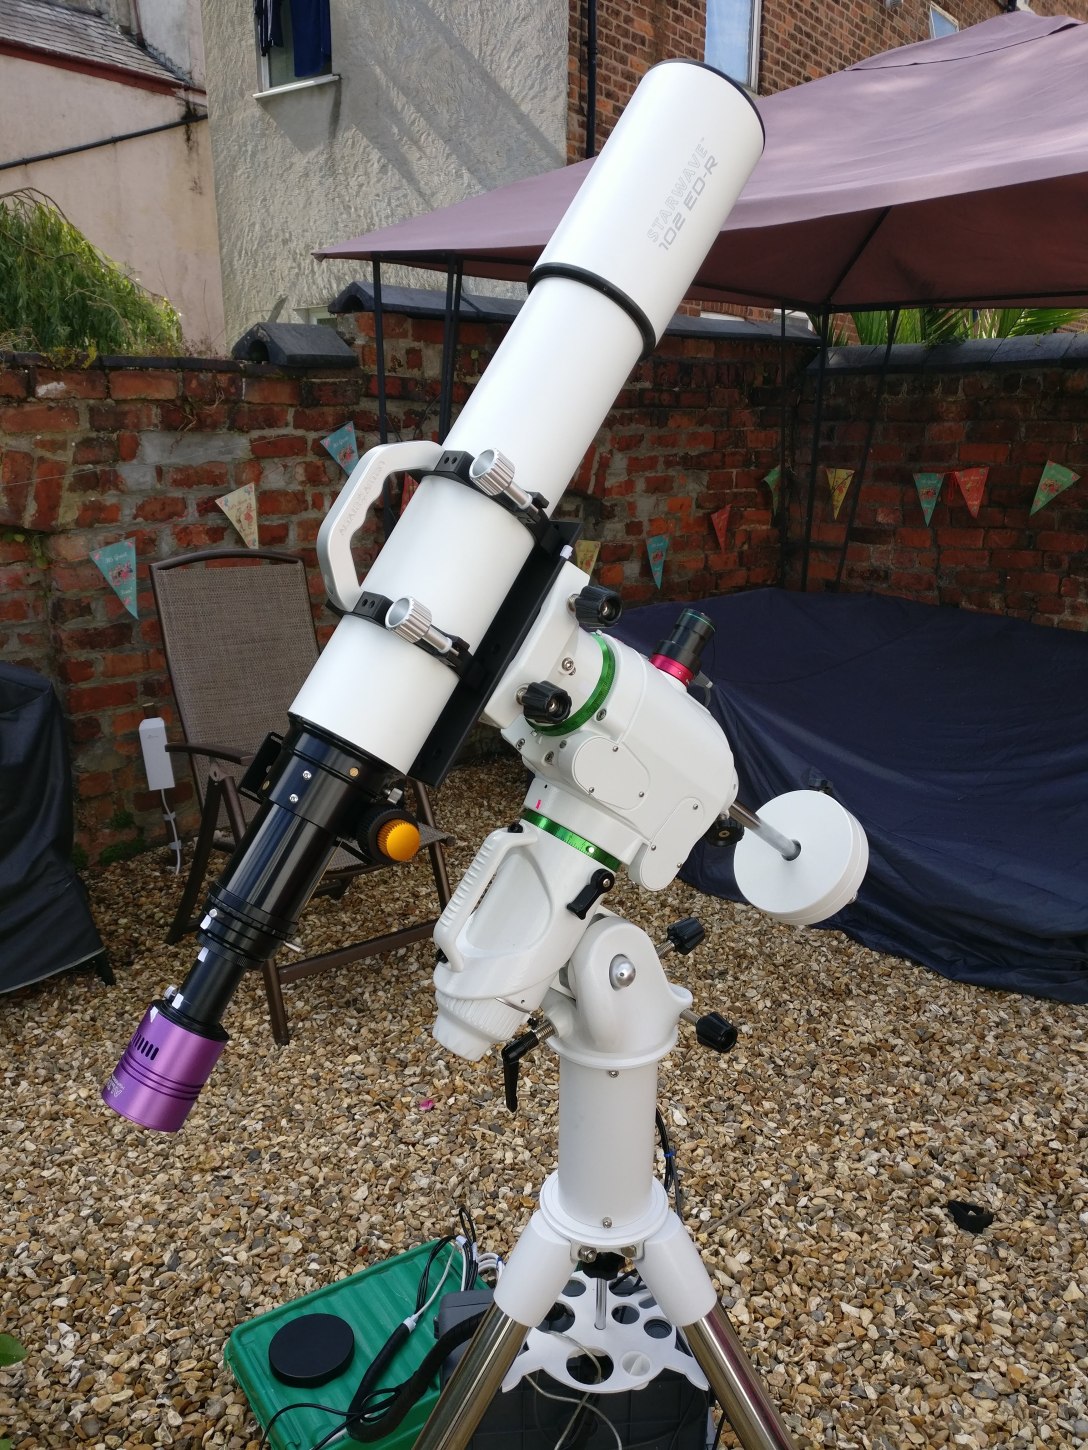
Now that we have a fully polar aligned EQ mount, we can now add our telescopes and imaging equipment. Now, we can’t just place our telescopes on our mounts in any old fashion – not unless you hate your mount and don’t fancy any more than a quick slew around the sky. For your astrophotography to be successful, your telescope needs to be well balanced across all axis.
What You Need
- Polar aligned, level mount
- Telescope
- Counter-balance Weights
How To Do It
1. Placement
First, we need to add the scope to our mount.
- Ensure your mount is at, what I will refer to as the home position: counter-balance weight bar pointing down, but pointing North. Do not dwell on trying to get this all at 90 degrees to the mount, just ensure it is resting in that position. At this point, there are no weights on your mount.
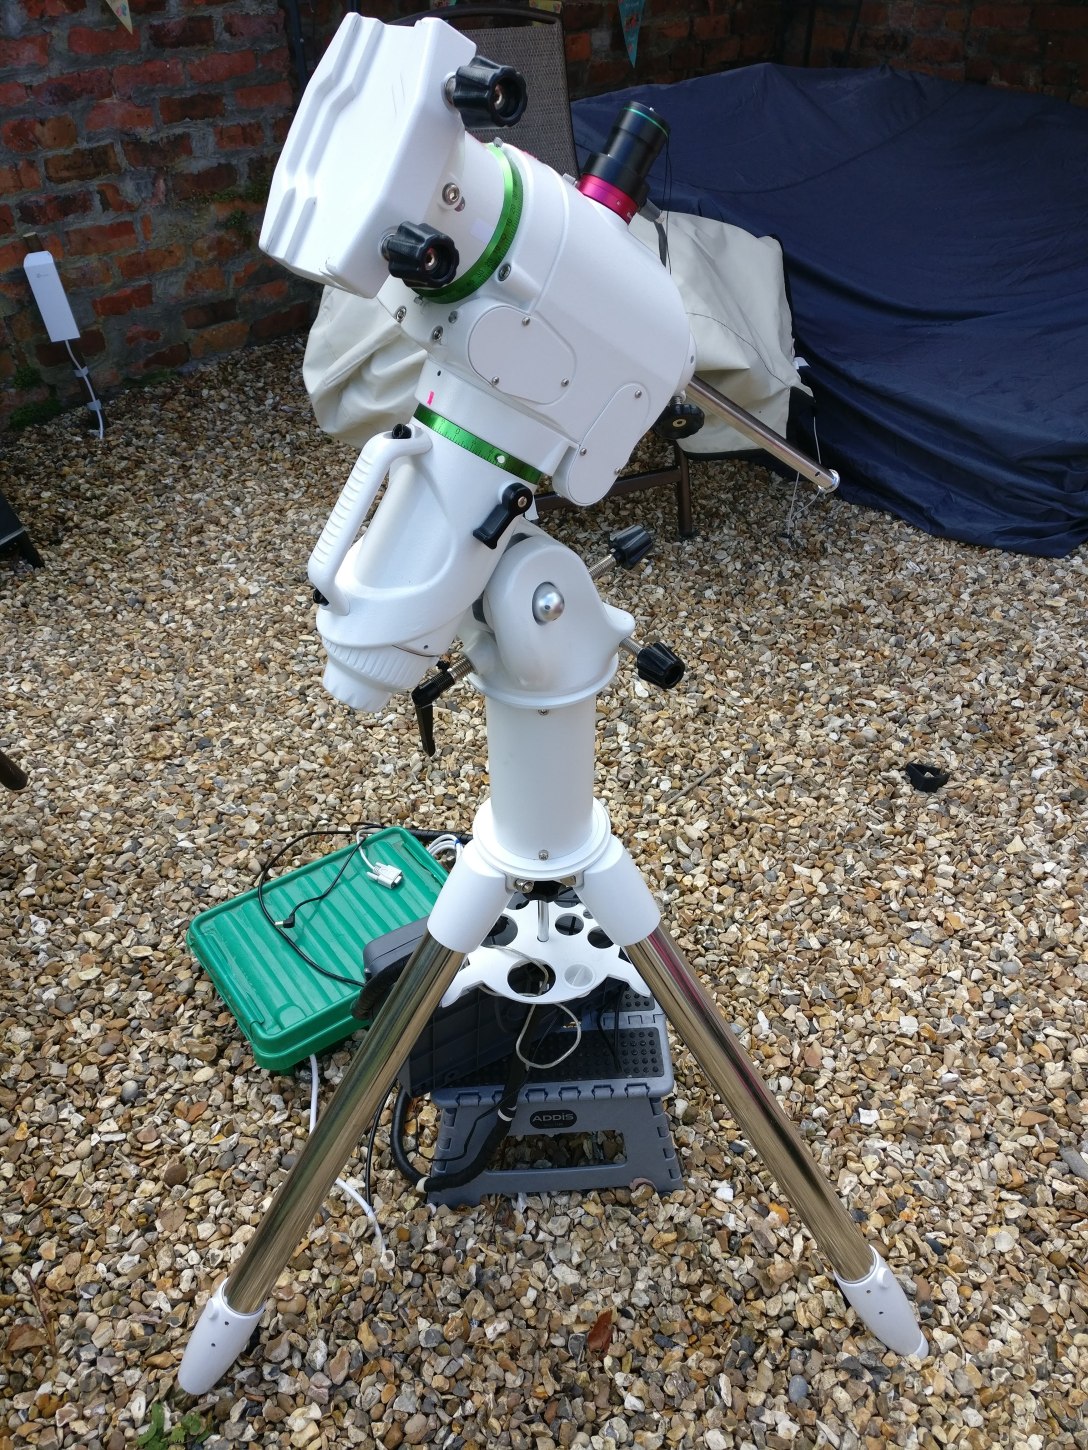
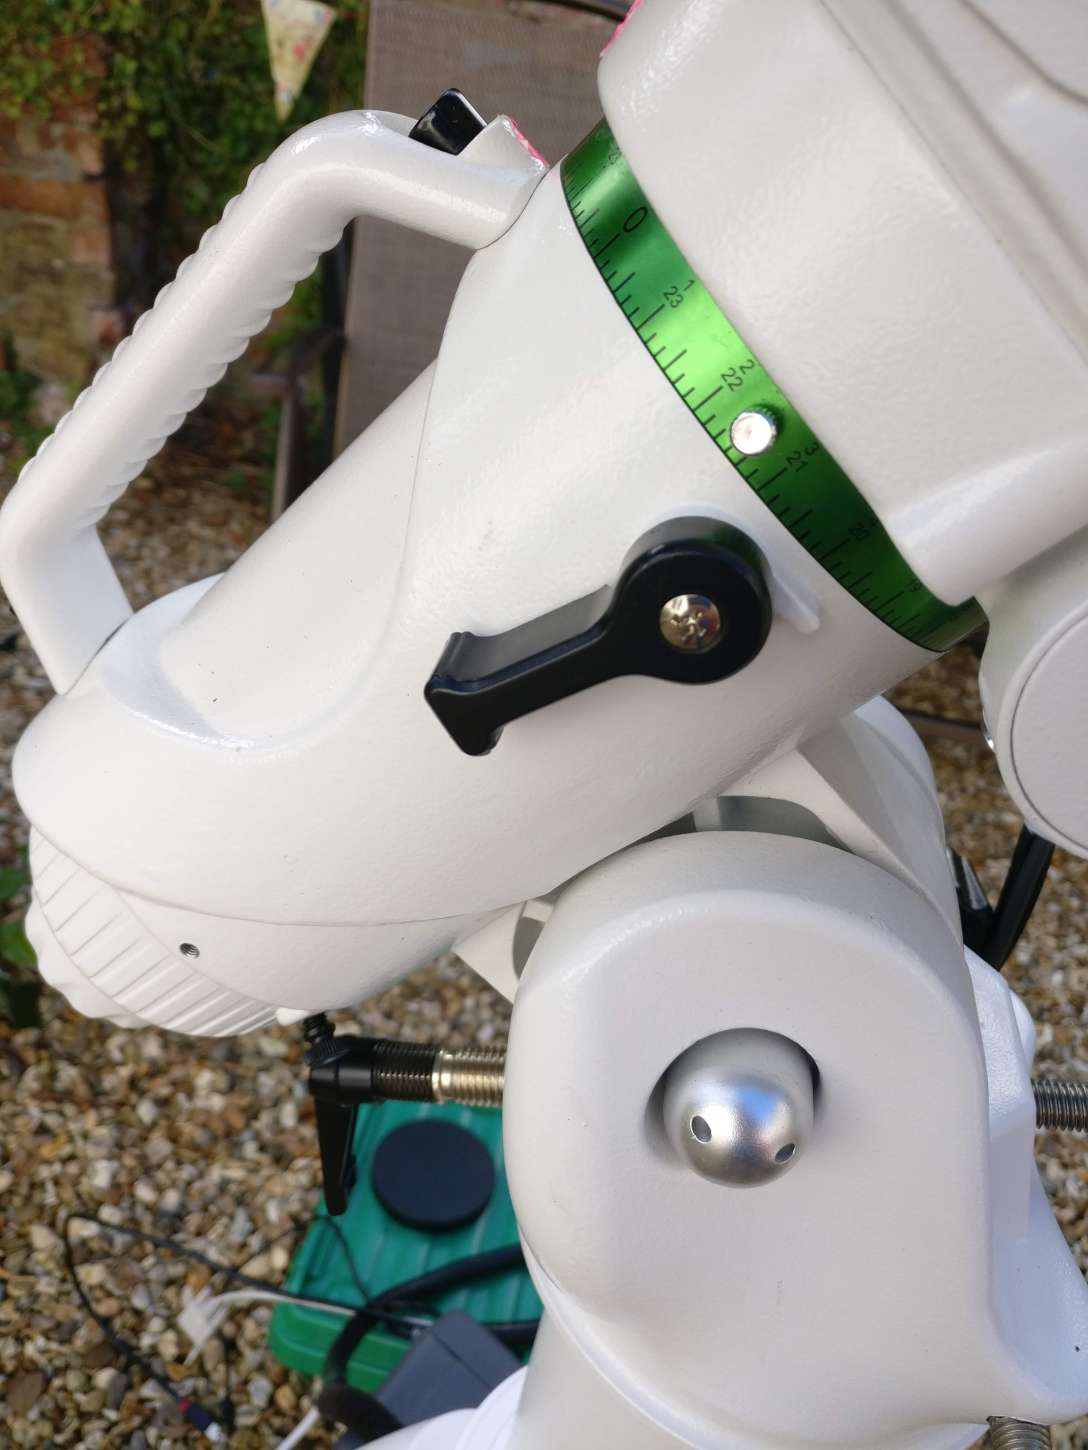
- Rotate the puck end of the mount – where you’re going to place the scope – so that the clamp edges run up towards the sky (roughly towards where Polaris will be – but not exactly. It will not match up exactly and you do not need it to match up exactly).
- Important: Now add your weights. Do not forget this step! You’ll probably have a good idea of how many weights to add and roughly where, but we’ll come to positioning shortly.
- Place your scope onto the mount so the objective end of the scope [the front glass] is pointing upwards. Secure the telescope in place.

- Extend any dewshields and add any imaging (or observational equipment) to your scope at this point too.
2. Balancing across Dec(lination) axis
Now we need to adjust the balance of the scope – first in declination (what will be North/South axis on your controls).
- Release the declination clutch

- Rotate the telescope so that it is parallel to the ground
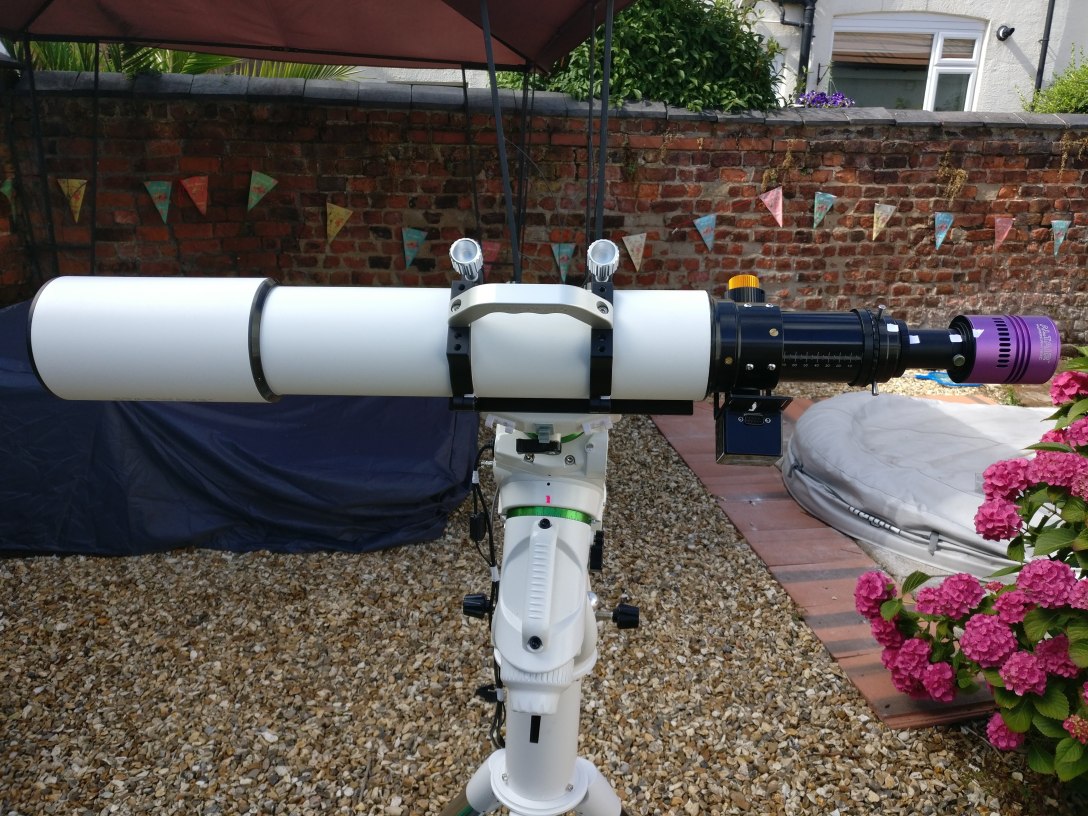
- Now let go, but have your hands ready to catch the drop of one of the ends. The idea is that it shouldn’t drop.
- If it is dropping at one end, undo the bolts securing your telescope slightly (so you can slide it along its fixing mechanism) and then move the scope AWAY from that direction – only very slightly. You’re after balance here. Secure the telescope in place and then test for balance again by removing your hands away.
- Repeat step 4 until you’re happy with things, rotate the scope back so it is pointing back up towards North, then lock the dec clutch.
Congrats, you’re balanced in one direction – declination.
3. Balance across right ascension (RA) axis
This is the axis that tracks the night sky. It is crucial that RA and Dec axis are well balanced as both come into play.
- Unlock the RA clutch and rotate the scopes so that your scope is hanging on one side of your mount, and your weights are hanging on the opposite side.
- As you swing things around you’ll feel whether the scope end or weight end is heavier than the other. If the scope end starts to rotate down – the weights aren’t heavy enough or they’re not far enough down your counter-balance weight shaft. So make a call – do you need more weights or can you shift the weights away from the telescope to give you balance?
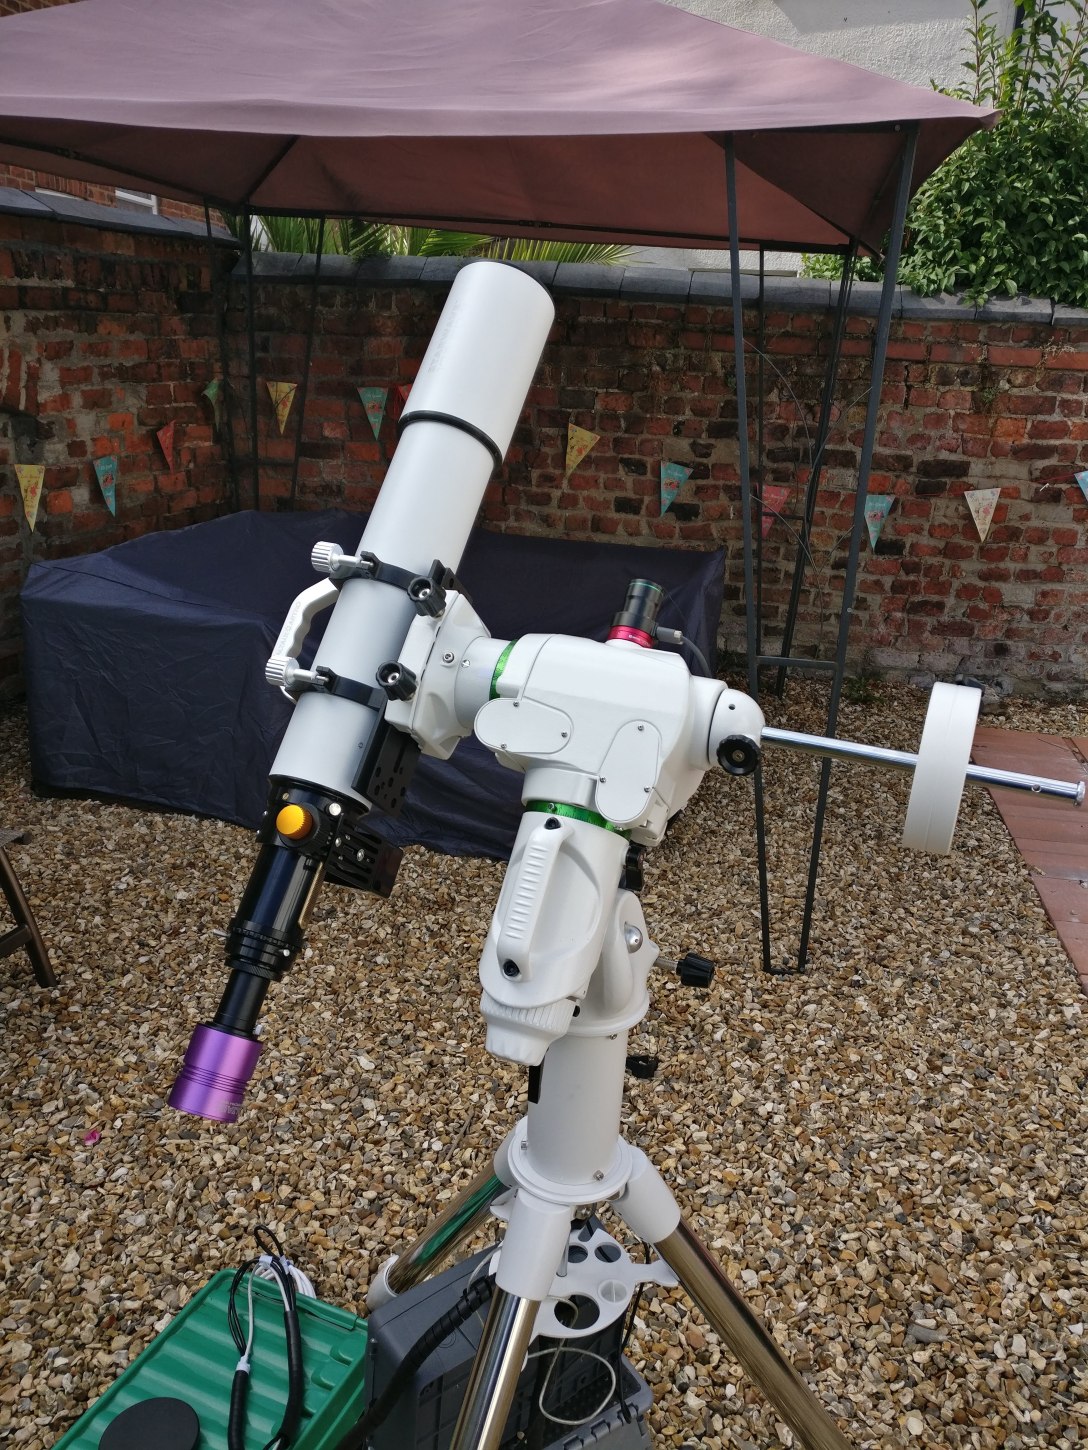
- If the weight end is the part that is heavy – if it is quite significant you could have too many weights on. Most of the time assume commonsense here and it could be that you just need to move the weights further along the shaft towards your mount.
- The result should be a fairly consistent feel of rotation around the RA axis and of course as you step away, when the scope and weights are level – the whole thing should rest at level. If it doesn’t – make the changes described above.
- Once you’re happy, rotate your scope back to the home position – with the telescope pointing upwards towards Polaris and lock your RA clutch.
What We Did
Balancing the scopes is an important but trivial task. Do not attempt to use your scope and mount until you can balance things – you’ll get awful photographs and you’ll put too much strain on the motors as it tries to counteract the forces of an unbalanced set up.
We first balanced the Dec axis (the movement of the scope that goes North to South on your controller), and then when we’re happy we did the same thing for the RA axis (the one that tracks from East to West in the night sky (in the Northern Hemisphere).
Generally you’re feeling for consistent movement and feeling for no particular drag in any direction as you freely move the scope around when the RA and Dec clutches are disengaged. When you’re done – you’re ready to set up your imaging software and begin your night of taking images!

3 thoughts on “The basics: Setting up and balancing the scopes”