In an ideal world, we’d set up our telescopes, on our very accurate mounts, that are accurately polar aligned and no matter where we pointed our telescope and camera, we’d be able to lock in on a target for hours on end to capture those faint DSOs without a care for any object slowly drifting out of view. Most of us don’t have a set up this accurate, but are still able to lock on on a faint deep sky object for hours on end (clouds permitting) to grab those valuable photons that eventually make up our images. To do this, they auto-guide.
Auto-guiding is the method by which a secondary camera is set to lock on to a target star, and the idea is – if it notices that it moves slightly, it nudges your mount back to where it should be (and these should be minute micro-movements in the realms of sub-pixels). The result is that – to your main imaging camera – everything is rock-steady and locked on to the target that you’re taking long exposures of. If things moved during a 5 minute exposure, the result is lack of detail and star trails – which is obviously to be avoided at all costs!
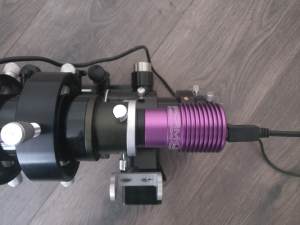
My guide scope equipment is here:
- Orion 50mm Mini Guidescope
- Altair GPCAMv2 130M Mono USB2.0 Camera
- ADM Vixen Guidescope Rings
- ASToptics USB powered dew strap
- Permanently sat on a vixen dovetail attached to my TSAPO65Q

Whilst all guiding at this level suffers from some kind of flexure (physical movement that could be interpreted as a tracking issue) I’ve found this particular set up is rock-solid, especially with this kit sat on an accurately polar-aligned SkyWatcher EQ6-R Pro mount. Having a guide scope working overtime is very little compensation for a badly setup, poor mount.
The only downsides to my guide scope set up are the inability to easily focus and it not having a dew shield. I use a parfocal ring attached to the Altair GPCAM, locked into place, and the Orion 50mm does allow for some focus control by rotating the lens at the opposite end, but it isn’t as simple as being able to use a focuser.
NOTE: ST4 or Pulse Guiding – I do not use the ST4 RJ11 cable, I Pulse Guide
The observant of you will notice that I only have a USB cable coming from the back of my Altair GPCAMv2 130M, despite it having an ST4 port – which is used for guiding. As I use an ASCOM controlled SkyWatcher mount, it is recommended that the ASCOM software is the brains that tells my SkyWatcher mount what to do, rather than directly from the camera. As other people will attest, you also save one less cable from dangling in the wind that could get snagged on your mount if you forgo the ST4 cable. This tutorial assumes you will be pulse guiding and not using the ST4 cable, however you get the choice to choose this during the setup so the instructions are still mostly valid for this option.
What You Need
- Guidescope
- USB astro camera dedicated to guiding
- ASCOM controlled mount
- PHD2 Guiding Software
It is assumed your camera is in focus, is attached to your scope/mount and ready to be used as a a guide scope (pointing along the length of where your imaging scope and camera is pointing – I try to ensure this is as accurate in view and as parallel as possible to the main imaging scopes view (albeit, most likely a much wider view).
How To Do It
1. Configure our hardware: Guidescope attributes, Camera and Mount
- If you haven’t already, go grab PHD2 from https://openphdguiding.org/ and install it.
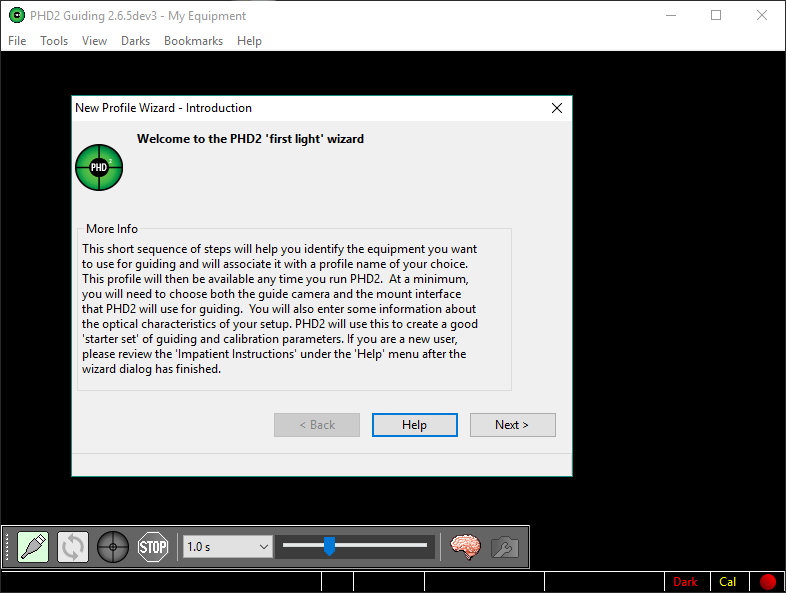
- When you first fire up PHD2 it will take you through a wizard to set up your guide scope, mount and camera. Press Next to follow the wizard:
- The first thing it will ask is what camera is attached. It has an extensive list of cameras. Make sure yours is connected and select it.
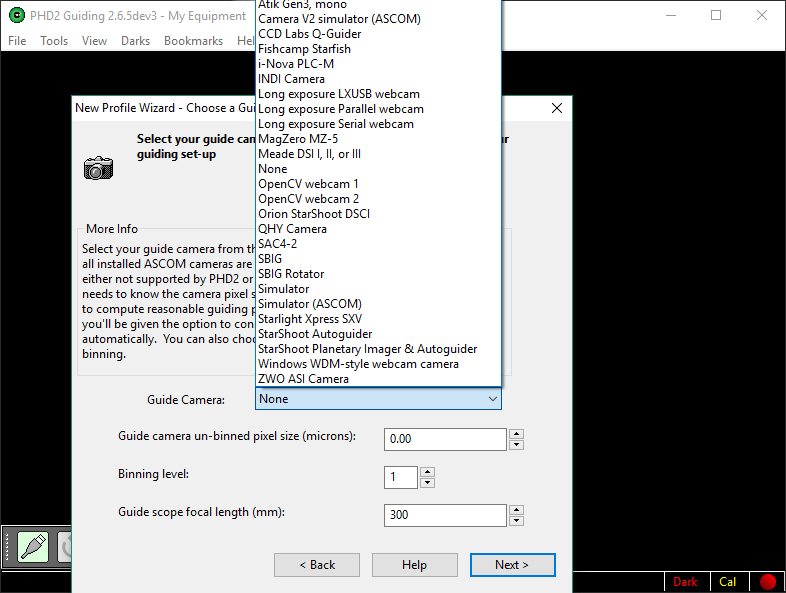
- With the camera connected, it will determine the pixel size of it. This is important to be accurate because the software determines how much movement has been made by working out the drift of a star’s pixels it has recorded.
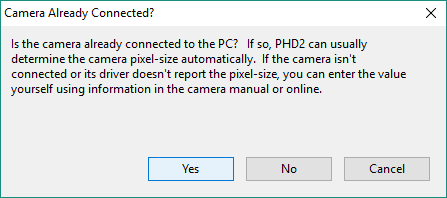
- For my Altair GPCAMv2 130M it determined the pixel size as 3.75 microns. I leave the binning level to 1 for now. As I’m using the very small Orion 50mm Guidescope, according to the manufacturer’s site, this has a focal length of 162mm.

- You’ll now be presented with a screen asking about your mount.
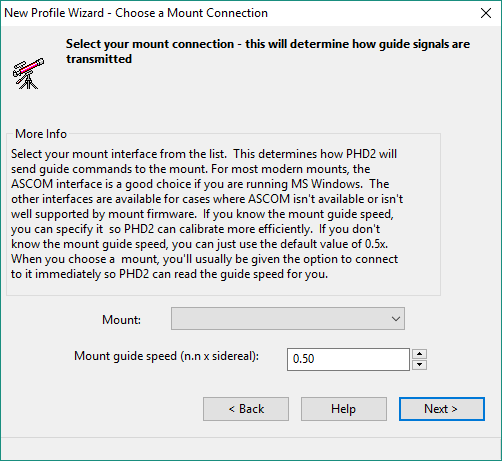
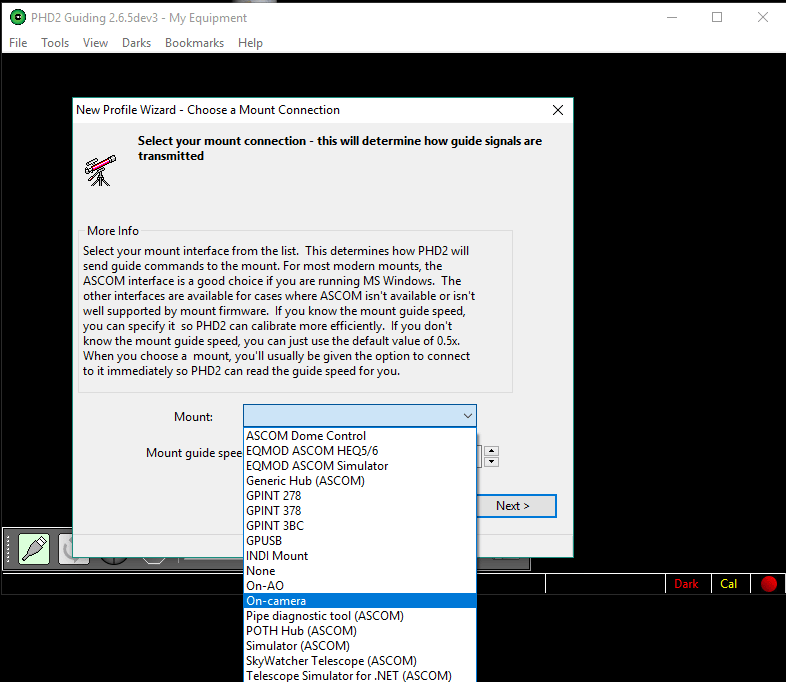
- Select your mount from the list. Note: If you are using ST4, select “On Camera” as shown below. This basically says that the control will come from the ST4 cable that you will have attached directly to your mount’s guide port. Everyone else, choose your ASCOM mount profile.
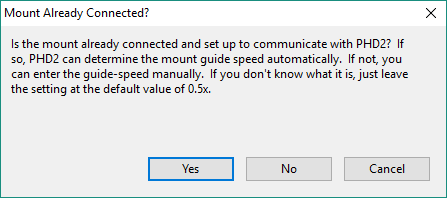
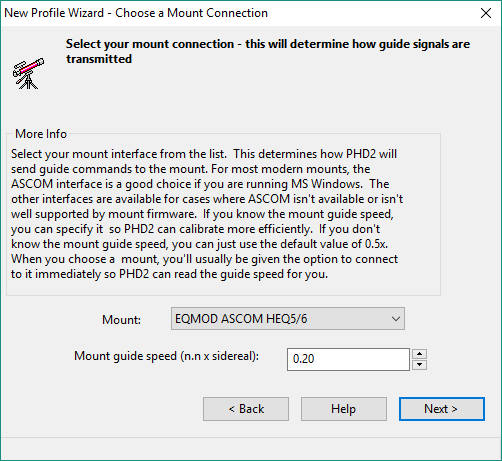
- For me, I chose the EQMOD ASCOM HEQ5/6 profile, which then presents the following question about guide speed settings of the mount. Clicking yes will fire up ASCOM/EQMOD and get the settings for guiding directly from it:
- For my setup, I hadn’t adjusted any settings of EQMOD, it determined the EQ6-R Pro’s configuration to be 0.2x
- No further equipment is needed, however you may have additional items. These can be added now or later. If you do not have an Adaptive Optics (AO) device, choose None and then click Next below:

- We now give it a meaningful profile name and we’re done setting up the hardware.
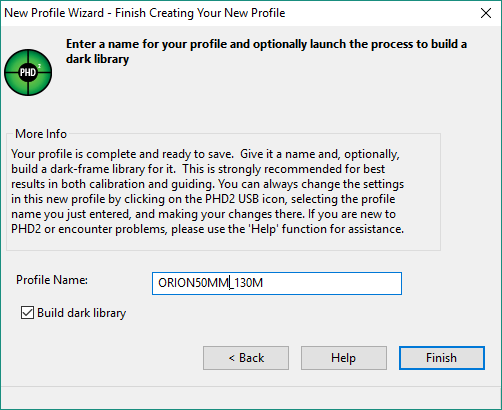
2. Build Dark Library
As can be seen in the screenshot above, whilst we have configured our hardware and software, we’re not quite finished. Like any astrophotography, the software must be configured to distinguish between bad pixels and stars. To do this, we let PHD2 build a dark library that will be used to subtract from the image it has taken of the night sky.
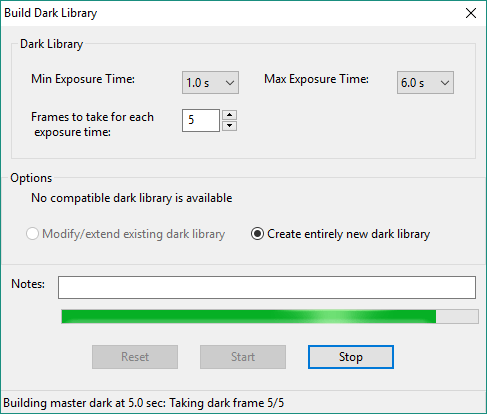
- When you have “Build dark library” selected, clicking on Finish will launch the Build Dark Library wizard. Cover your guide scope up (as per usual when doing darks) and then click on Start. Acknowledge that you have covered the end of the scope.
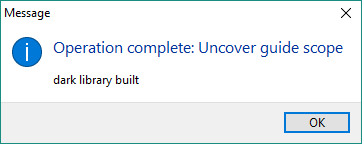
- Once done you will see the following screen and we’re done!
What We Did
Guiding is an indispensable aid to getting very long exposures that are a must for deep sky photography. For most average, backyard astrophotographers, anything longer than 2 minutes is pushing the limits of scopes and mounts – perhaps even pushing 1 minute is a challenge. This is where auto guiding comes in, and for this we can use the excellent free software, PHD2. This guide took you through setting up PHD2 for a dedicated guide scope, that uses ASCOM and Pulse Guiding for control. The PHD2 wizard takes you through asking questions about your camera, guide scope and mount – and its important to put in accurate information. Luckily PHD2 can determine some answers, but always double-check the values it has gathered.
Once you have told it about the hardware that makes up your guide scope and mount, it then builds some darks associated with that profile. This is important as you don’t want PHD2 locking on to a bad pixel (that will never move) whereas in reality the sky behind it has shifted slightly causing errors during your long exposures!
When the skies have cleared, we can then take PHD2 out for calibration and put it to use for guiding.

Great instructions and far more useful than slogging through the forums and getting conflicting advice. Thanks for putting in the time to draw up these instruction sequences. I now have my mount connected to CDC and can use PHD2
LikeLike
Really,really great work,. I am going to be going on 85 yrs old soon. Even I can follow these easy steps. I am very great full to you for taking the time to do this! …regards to you from near Dollywood & the Great Smokey Mountain…..Phil S.
LikeLike